“Play gives children a chance to practice what they are learning…They have to play with what they know to be true in order to find out more, and then they can use what they learn in new forms of play.” ~ Fred Rogers (Mr. Rogers’ Neighborhood)


Tuesday, June 26, 2012

4th Of July Fun

I love the 4th of July!  It is one of my favorite holidays!  I wanted to share a few 4th of July crafts.  

The first one is my favorite....Hand print and Foot print Flag!  I couldn't really take pictures of the process because I had to help guide their little hands and feet :)


Aiden's hands are the stars and Samantha's feet are the stripes

Here is our American Flag.  Now I need to find a good place to hang it 

Firework Streamers...
The easiest 4th of July activity ever

You Need....
Streamers (Red, white, blue)
Foil

Tear all three streamers into strips (any length will do) and then tear a small square of foil.  

 Hold the end of the streamers together while you wrap the foil over the ends (this holds them together and acts as a weight).


Now you have your fireworks!  You can throw it or run with it...pretty much anything.  Samantha and Aiden had lots of fun throwing it up in the air and watching it fall.  We will probably bring them to the 4th of July parade too


Happy 4th of July!


Monday, June 25, 2012

Banana Ice Cream

I have seen Banana Ice Cream all over Pinterest including here and here. So I finally decided to try it.  It was a lot easier than I thought it would be.  Samantha and Aiden both really liked it.

Ingredients:
4 bananas ripened
1 T Cocoa powder (optional)
2 T Peanut Butter (optional)

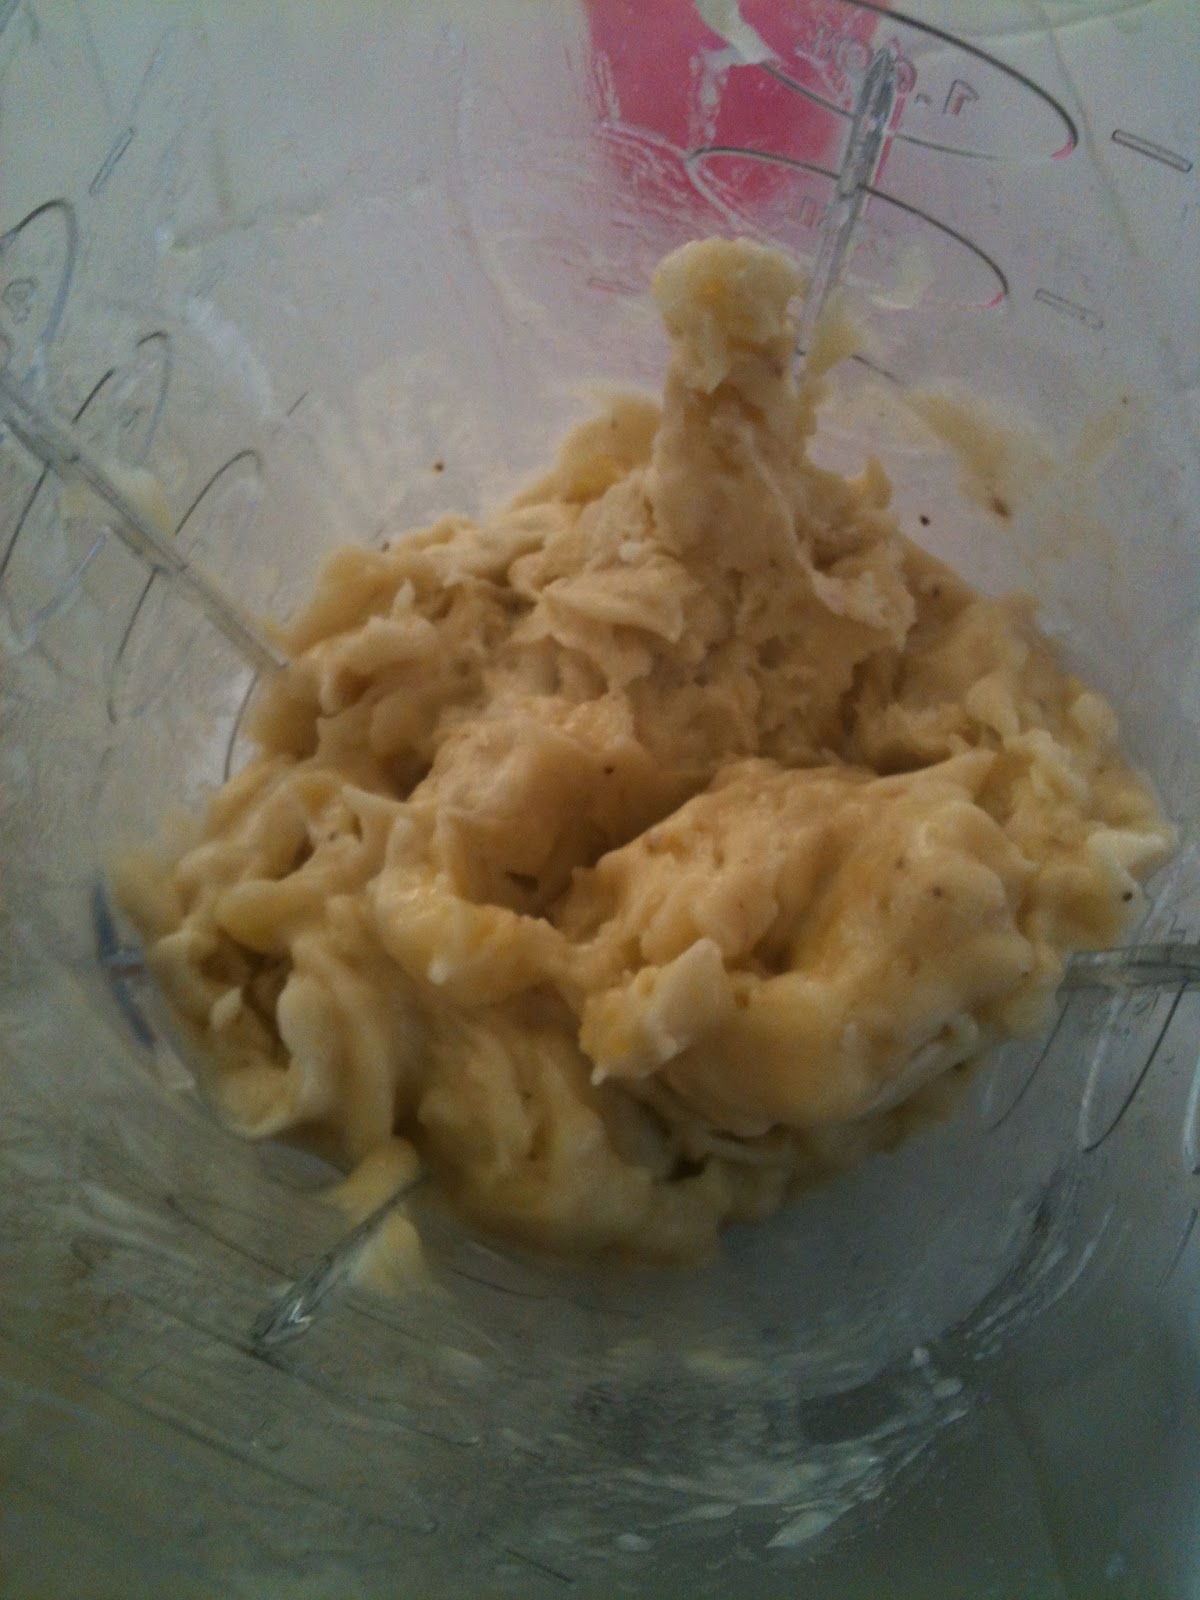
Slice the bananas and put them in the freezer for an hour or two (just until they are frozen).  Then place them in the blender or food processor and blend.  Blending the bananas took a few minutes but once they were blended it was just like ice cream.


Once everything is blended put it back in the freezer until it hardens.  
There you have it a healthy tasty summer treat :)

Enjoy!


Wednesday, June 13, 2012

Fun with Rainbow Rice

The rice actually dried a lot faster than I thought it would. It was dry within a few hours :)

I poured the rice in a disposable baking dish and added some cups and spoons for them to play with. They had so much fun! They played with it for a long time. They even asked for it the next day

Monday, June 11, 2012

Rainbow Rice

I was going to title this post~Colored Rice (like everyone else)  but my playful little girl kept saying, "Look, we are making a rainbow!" So it stuck.

I have seen this done before but have never actually tried it.  I wanted to see if it was as easy as everyone says...it was super easy and fun to mix the rice :)

The make the rice took about 10 mins.  The drying is taking a lot longer and testing our patience :)

All you need is:
Vinegar
Rice (I used 4 cups)
Food coloring
Cups
Baggies
Foil or wax paper


 Put a cup of rice in each baggie.  In a separate cup add 1-2 Tablespoons of vinegar and a few drops of food coloring.  The color of the rice depends on how much food coloring you use.


Pour the vinegar/food coloring mixture into a baggie.  Seal the baggie (getting out as much air as possible) and mix.  


 Once you have mixed all of the rice lay it out on foil or wax paper to dry.  This part takes the longest.  You want it to be dry before your kiddos start playing with it :)


This is where we have left off.  Our rice is still drying.  I will post pictures of the playful kids playing with it :)


ENJOY!!


Saturday, June 9, 2012

Crayon Rubbing

We were having a long day...no naps and too hot to play outside. Thankfully I remembered this coloring activity. I was even more thankful that she LOVED it!! It kept her entertained for awhile (A while=10 mins...hey, i'll take what I can get)

I used a large sheet of paper, crayons (with no wrapper), tape, and stencils


I taped the stencils to the table...you don't want them moving around.  These were from the dollar store if you don't have any you can always cut out shapes and tape them down.

Then tape the paper on top of it...again you don't want it to move while you are coloring.


I had my playful little girl try to guess what was under the paper.  She had no clue :)


At first I showed her how to rub the crayon across the paper.  She was able to catch on really fast.
As she was coloring she kept saying it was magic.


Here's the final product...


Thursday, June 7, 2012

Marble Painting

The kids have been wanting to paint a lot lately so today I gave them another way to paint...with marbles!


Here's what we used...paint, pie tins (to put the paint in), paper, spoons (to scoop the marbles), box and marbles
Put the paper in the box


Cute Baby Toes :)


They wanted to do it together :)


I love how they turned out!!


Wednesday, June 6, 2012

Scissors & Streamers!

My little playful girl loves to use scissors! She is still young and learning how to use them. This activity encourages children to use scissors the correct way and help develop the muscles in their hands.

This is all you need...Streamers, scissors (i used child safety scissors), tape and a place to hang the streamers. I used our kitchen table but you could really use anything...A kids table, doorway, chair. Cut the streamers in any length that you would like and tape them to the table.


It looks so fun!


 Let the cutting begin!


 After making a few snips she turned the scissors around and was using them the right way :)


This was a fun activity.  When my playful little girl saw the streamers hanging she thought we were having a party :)